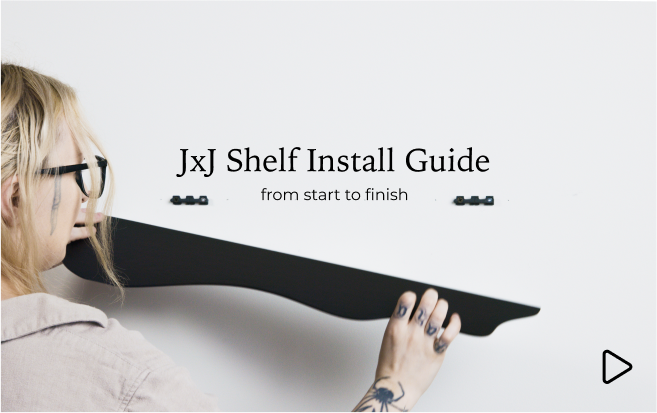
Video thumbnail

Install Video

Follow our guide for a seamless shelf installation.

With our patented leveling system, there’s no guesswork, no crooked installs, and no stress. Just line it up, mark your spots, and snap it into place. Whether you’re a seasoned DIYer or just handy-ish, you’ll have it mounted and level in minutes — no laser levels or spirit guides required.

Step 1

Consider your Positioning

Start by deciding where you'd like to mount your shelf. Consider the height, surrounding furniture, and what you'll be displaying. Use a pencil to lightly mark the centre of the shelf — this will help guide the rest of your installation. (tip: use painters tape to mark on for damage free installation).

Step 2

Locate studs

Use a stud finder to locate, and mark stud centres on the wall (tip: use painters tape to write on for a damage free installation). This will inform your decision on where your shelf should end up.

Step 2a

Drywall only install

No studs? No problem. (Reminder; our hardware works with metal studs too!) Just make sure your drill locations are clear of hidden obstacles, don't accidentally drill into anything you shouldn’t! (Drilling into pipes or wires is bad!) use the shelf centreline and the template centre notch for positioning.

Step 3

Plan your installation

We highly recommend to hit at least one stud. (Metal studs work great too!). If you have a medium or large shelf you can hit 2! (16” spacing). All drill positions as well as the centre of the shelf are marked by the small notches on the acrylic template. Align these notches with a stud or two for best results!

Step 4

Setup your template

When you’ve got a plan, you can set up your template for your specific situation. Your installation kit includes drill bushings of different diameters. Position these in your template where you need them! ¼” for drywall plugs and 1/8” for stud screws!

Step 5

Align your template

a)If using studs, use the centres marked earlier and the acrylic notches to position your template on the wall.
b) If using drywall only, you have more freedom. Using the shelf centreline and template centre notch to align your template and shelf is recommended.

Step 6

Secure your template

Using the provided nails, secure the template to the wall. Start with one nail only, this will give you a pivot point to more accurately level the template. Secure with all additional nails. Nail holes will be hidden by the shelf!

Step 7

Drill your holes

The drill bushings make this step painless! Just drill and go. Make sure you use the right sized drills (⅛” or ¼”) depending on how you set up your template. Drill through drywall for plugs, drill through the metal stud (if using) or just about a ¼ to ½” into a wood stud (just enough to locate the screw).

Step 8

Remove your template

Pull the template off the wall. The short nails make this process a breeze. Peel any tape you don’t need anymore at this time.

Step 9

 Prep for male brackets

If you are using drywall plugs now is the time to pound them in! Go as flush as possible for best results but don’t damage the outer paper or the drywall! You will lose strength.

Step 10

Install male brackets

Install all screws and secure male brackets to the wall, but leave them just a hair loose. If using drywall plugs DO NOT OVER TIGHTEN. Also Don’t get the screws mixed up! Black are for studs, silver are for drywall plugs.

Step 11

Secure screws

Torque down all the screws with a hand screwdriver for maximum control and to ensure no over driving or the screws or stripping of the drywall plugs

Step 12

Install shelf

With a downward hooking motion align the teeth and notches of the male and female brackets. A firm push to the right should be all that’s needed, but sometimes you need the hammer. Use the provided leather pad for a damage free installation. Listen for the tone change if hammering, it’s only a 1cm (⅜”) movement required

Frequently Asked Questions & Shelf Care Tips

Even the best shelves need a little guidance now and then. Whether you're fine-tuning the install or just want to keep things looking sharp, we've got a few simple tips to help you get the most out of your piece.

How do I clean my shelf?

Just dust with a soft, dry cloth. Avoid harsh cleaners to protect the finish.

What if my shelf isn’t level?

Double-check the included template and use the leveling guide. If needed, loosen the bracket, adjust slightly, and retighten.

Can I install into drywall?

Yes — as long as you use the provided anchors. For maximum strength, install into at least one wall stud.

Do I need special tools?

No- A drill, hammer, screwdriver, and provided installation tools are all you’ll need.

Can I remove and reinstall the shelf?

Yes. The hardware stays in the wall — the shelf can slide on/off the bracket if you need to move it or change the shelf.

Will the finish change over time?

Wood naturally develops subtle character. Just avoid harsh chemicals or extreme heat, and it will age beautifully.